Install .NET 8 to follow allong
You need to install .net8 from Microsofts Official Website:Download .NET 8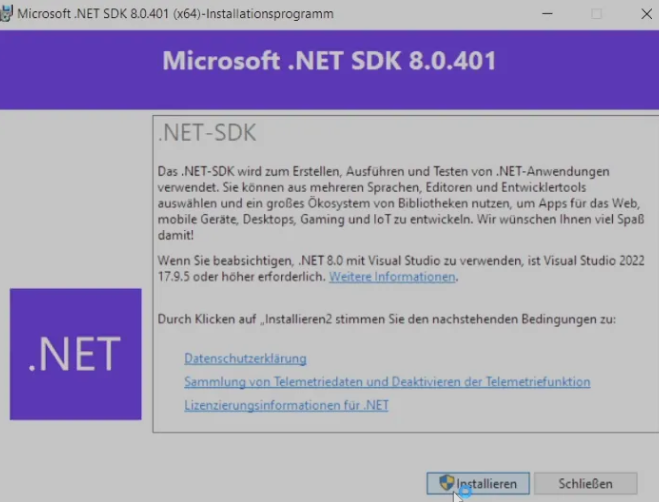
>_ Terminal
You could optionally install Git for a commit based follow allong:Download Git
New Step
-
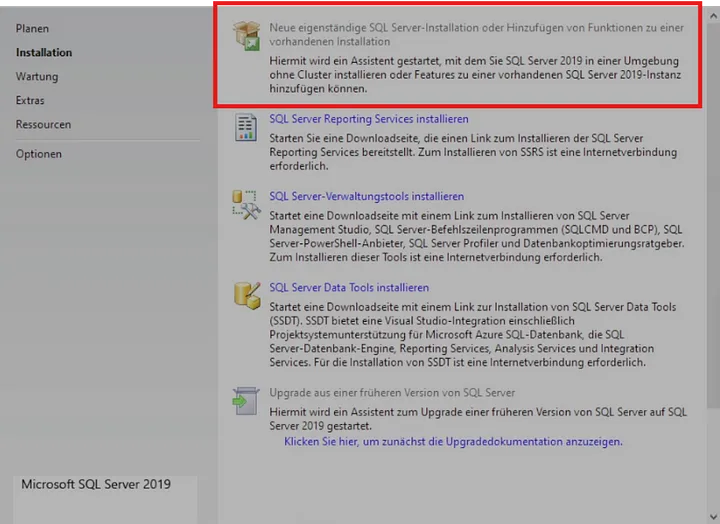
SQL Server Express First: By installing SQL Server Express first, you ensure that the database engine is set up and ready to go. This is the core service that SSMS will connect to and manage.
-
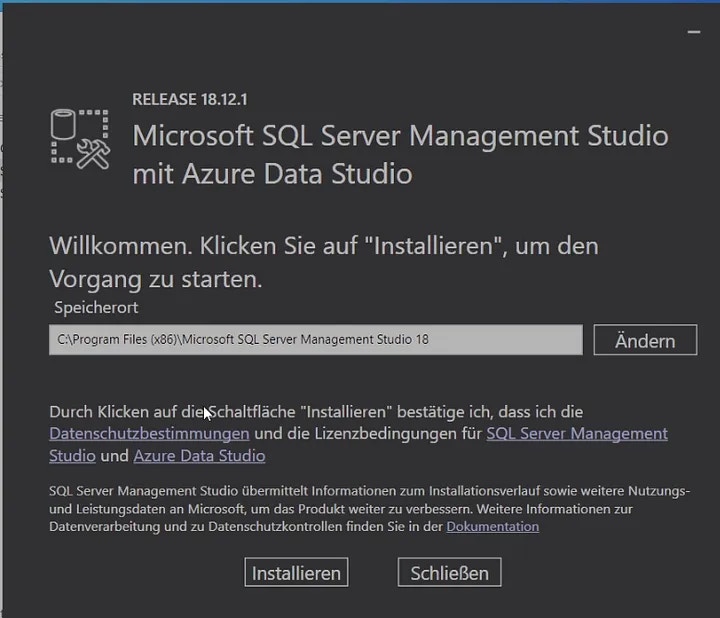
SSMS (the Setup) After: Once SQL Server Express is installed, you can then install SSMS. SSMS will detect the SQL Server Express instance during installation, making it easier to connect to and manage your databases right away.
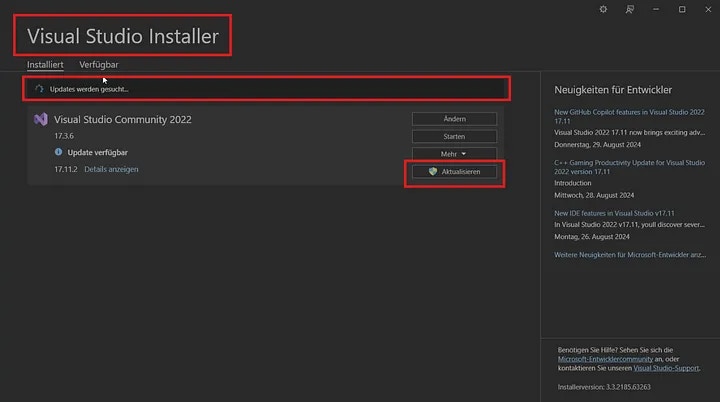
Install Visual Studio
- Make sure to start the setup normally from the Visual Studio Folder.
- Choose C#-related Workloads.
- Let the Installer install:
- After the base installation is finished (Restart the Pc if needed)
-
You should at least close your Studio once, and start the Installer again — if .NET 8 is installed correctly an Update-Button will show up:

Fitting Template
App with more complex relations
For the most modern Template, use the Blazor Web App Template:Very important! select Individual Accounts, to have an secure authentication system from the startup without any extra work.Very Important! select RenderMode Server !Another Thing to do right in the beginning is to adjust the Connection StringJsonSettings
Before you begin coding, make sure to enable Detailed Errors. While you shouldn’t encounter too many issues, it’s important that any errors that do occur are as detailed as possible. You can do this in your .json File.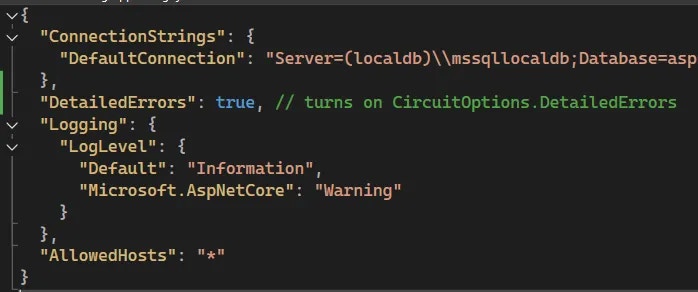


appsettings.json
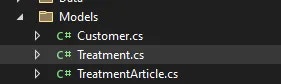
Create Models
DbSet for each model, the class remains standalone and will not be tracked or pushed to the database.| Modell | Beziehung | Elternteil | Kinderteil | EF Core Implementierung |
|---|---|---|---|---|
| Developer | Mehrere VideoGames können 1en Developer haben | Developer | VideoGame | Im VideoGame Element eine Referenz zu Developer und einmal DeveloperId |
| Publisher | Mehrere VideoGames können 1en Publisher haben | Publisher | VideoGame | Im VideoGame Element eine Referenz zu Publisher und einmal PublisherId |
| VideoGameDetails | 1 VideoGame kann 1e VideoGameDetails haben (1:1) | VideoGame | VideoGameDetails | Im VideoGameDetails Element eine Referenz zu VideoGame und einmal VideoGameId |
| VideoGameGenre | Mehrere VideoGames können mehrere Genres haben (N:N) | VideoGame/Genre | VideoGameGenre | Im VideoGameGenre Element eine Referenz zu VideoGame und Genre sowie VideoGameId und GenreId |
Models / Publisher.cs
Models / Developer.cs
Make sure to make an Migration now:
add-migration "start"Make sure to make an Update after:update-databaseCreate a Service
You can skip creating an Interface since it is not necessary after all and can steal you time in a testing enviroment.
Extremly Important
Program.cs
Create a Datagrid for searching and filtering


More on Modeling:
🧠 How to Perfectly Emit an Entity-Relationship Model (ERM)
Designing a solid ERM starts with thinking from the UI and data workflow — then translating that into clean, normalized entities.📍 Step-by-Step Mental Model
1. Start with the Main Entry Form (Master Entity)
What is the main thing the user creates?Example:
🠖 This becomes your primary table/entity.
- Creating a “Product”? →
Productis the main entity. - Also think which data can i seed? and does not need an entry by myself
2. One-to-Many (1:N): Child Needs Foreign Key
If you add multiple things under the main form (like tags, comments, or bookings),Rule:
then the child holds the foreign key.
🔁 “Many points to one — the many-side gets the FK.” Example:
3. One-to-One (1:1): Either Side Gets the FK, Prefer Dependent
Used when you split detailed data into a second table (e.g.Tip:UserDetails,VideoGameDetails).
Put the FK on the dependent (the one that wouldn’t exist without the parent). Example:
4. Many-to-Many (N:N): Needs a Join Table
For multiselects or tagging — like Products with multiple Categories.You need a middle table that holds 2 foreign keys.
💡 UI-Based Thinking = Smarter Modeling
| UI Element | ERM Pattern | FK Location |
|---|---|---|
| Single dropdown | 1:N | In main entity |
| List of items under main record | 1:N | In child entity |
| Detail page/tab with extra fields | 1:1 | In dependent detail |
| Multiselect (e.g. categories/tags) | N:N | In join table |
✅ Final Checklist
- Start from user workflows / forms
- For each “added element” → ask “does this exist without the parent?”
- Normalize repetitive data into lookup/reference tables
- Avoid putting collections on both sides unless needed
- Always define clear PK/FK logic
Validations
FluentValidation in Blazor: UI Integration & 50+ Rule Examples
This guide provides a full reference on how to use FluentValidation in a Blazor project, including hardcoded validations, live UI updates, and more than 50 practical validation rule examples.📦 Setup FluentValidation in Blazor
- Install the NuGet package:
Register services in Program.cs:
🧠 Core Concept: Validation with FluentValidation
- Create a model class (e.g.
Purchase) - Create a corresponding validator
- Bind it to the form in Blazor with
FluentValidationValidator
✅ Hardcoded Entry Validation Example
Model
Validator
🖥️ UI Integration in Razor
📚 50+ FluentValidation Rule Examples
⏱️ Zeitbezogene Regeln (Zeitpunkte, Start/Ende, Dauer)
✅ Startzeit < Endzeit
✅ Startzeit darf nicht in der Vergangenheit liegen
✅ Mindestdauer von 15 Minuten
✅ Maximaldauer 8 Stunden
📅 Tages- und Wochenvalidierung
✅ Kein Wochenende erlaubt
✅ Innerhalb der Arbeitswoche (Mo–Fr)
📆 Zeiträume & Kollisionen (verfügbare Slots)
✅ Zeitraum nicht mit bestehender Buchung überlappend (Pseudo-Beispiel)
⏳ Zeiterfassung & Arbeitszeit
✅ Gesamtarbeitszeit pro Tag < 10 Stunden
✅ Pause von mindestens 30 Minuten bei mehr als 6 Std.
✅ Kein Arbeitseintrag über Mitternacht erlaubt
🕐 Uhrzeitfenster prüfen
✅ Innerhalb Geschäftszeit (08:00–18:00)
✅ Nicht vor 06:00 Uhr
📉 Weitere zeitliche Prüfungen
✅ Pausen dürfen nicht länger als die Arbeitszeit sein
✅ Arbeitsdauer muss genau 8 Std. sein (z. B. Pflichtmodell)
✅ Zeitstempel darf nicht in Zukunft liegen
💼 Kalendereinträge
✅ Maximal 3 Termine am selben Tag
✅ Termine dürfen nicht überlappen (Start-Start-Check)
🧠 Komplexere Regeln
✅ Gleitzeitregelung (z. B. nur 6–20 Uhr erlaubt)
✅ Keine Buchungen über 2 Kalendertage
✅ Mindestabstand von 10 Minuten zwischen zwei Einträgen
Tips for Live UI Feedback
- Use
<ValidationMessage For="..." />components - Call
EditContext.Validate()to trigger validation manually - Use
.WithMessage()to control user feedback - Keep the validator stateless and only reference known external data (e.g. hardcoded arrays)
📦 Resources
Big example
🏗️ Complex App Design with EF Core (Markdown Walkthrough)
🎯 Scenario: Conference Management System
You are tasked with building a Conference Management System. Users can:- Create and manage Events (conferences, meetups)
- Add multiple Sessions to each Event
- Assign Speakers to Sessions (a Speaker can speak at many Sessions; a Session can have many Speakers)
- Register multiple Attendees per Event
- Each Attendee can pick multiple Sessions to attend
🧠 Step-by-Step Mental Model
- Main object:
Event Sessionbelongs to exactly one Event → 1:NAttendeebelongs to exactly one Event → 1:NSessionhas many Speakers (and vice versa) → M:NAttendeeattends many Sessions (and vice versa) → M:N
🗂️ Final Entity Overview
✅ Event (Parent of Sessions & Attendees)
✅ Session (Child of Event)
✅ Speaker (Independent)
✅ SessionSpeaker (Join Table for Session ↔ Speaker)
✅ Attendee (Child of Event)
✅ SessionAttendee (Join Table for Session ↔ Attendee)
🧠 Relationship Summary Table
| Entity | Parent | FK Field | Type |
|---|---|---|---|
Session | Event | EventId | 1:N |
Attendee | Event | EventId | 1:N |
SessionSpeaker | Session, Speaker | SessionId, SpeakerId | M:N (via table) |
SessionAttendee | Session, Attendee | SessionId, AttendeeId | M:N (via table) |
💡 Why No Navigation Properties?
- Cleaner and faster DB context generation
- Easier to control relationships manually in queries
- Better for APIs where DTOs are custom
📋 Task Flow for Designing This System
Step 1: Think in Screens
- “Create Event” → Requires
Event - “Add Session to Event” → Needs
SessionwithEventId - “Add Attendee” → Needs
AttendeewithEventId - “Assign Speaker to Session” → Join
SessionSpeaker - “Attendee picks sessions” → Join
SessionAttendee
Step 2: Identify Ownership
- If an entity wouldn’t exist without another → It’s a child
- If two things are independent but related → Create a join table
Step 3: Normalize
- No duplicate speaker names → Put speakers in their own table
- Same session can appear across events? No? → Link tightly to event
✅ Final Notes
- Every
1:N→ child holds the FK - Every
M:N→ build a join table (no need for nav props) - Think first about UI, then about data dependencies
UserService example
To protect a page with authentication: ```razor @attribute [Authorize] ```Testplan
✅ Testplan – Beispielvorlage
🗂️ 1. Ziel des Tests
Beschreibt das Ziel des Tests (z. B. Sicherstellen, dass die Registrierung eines Benutzers korrekt funktioniert).Beispiel: Überprüfung der Benutzerregistrierung mit gültigen und ungültigen Eingaben.
🧪 2. Testumgebung
| Komponente | Version/Details |
|---|---|
| Betriebssystem | Windows 11 |
| .NET Version | .NET 8 |
| Browser | Chrome 123 / Firefox 118 |
| Datenbank | SQL Server 2022 |
| Anwendungstyp | Blazor Server |
🧾 3. Testdaten
| Testfall-ID | Eingabe | Erwartete Ausgabe |
|---|---|---|
| TST001 | Gültige E-Mail, Passwort | Registrierung erfolgreich |
| TST002 | Ungültige E-Mail | Fehlermeldung “ungültige E-Mail” |
| TST003 | Leeres Passwort | Fehlermeldung “Pflichtfeld” |
| TST004 | Existierende E-Mail-Adresse | Fehlermeldung “Benutzer existiert” |
📋 4. Ablaufplan des Tests
- Anwendung starten
- Navigiere zur Registrierungsseite (
/register) - Formular mit Testdaten ausfüllen
- Auf “Registrieren” klicken
- Ergebnis mit Erwartung abgleichen
- Ergebnis im Bericht dokumentieren
📄 5. Testbericht
| Testfall-ID | Getestete Funktion | Ergebnis | Bemerkung |
|---|---|---|---|
| TST001 | Registrierung | ✅ Pass | Alles korrekt |
| TST002 | E-Mail-Validierung | ✅ Pass | Fehler korrekt angezeigt |
| TST003 | Pflichtfeldprüfung | ✅ Pass | Validierung funktioniert |
| TST004 | Prüfung auf Duplikate | ❌ Fail | Kein Fehler, Registrierung erlaubt |
📝 6. Zusammenfassung
- Bestandene Tests: 3 von 4
- Fehlgeschlagene Tests: 1
- Empfehlung: Fehlerbehebung bei Prüfung auf bereits registrierte E-Mails
🧩 7. Hinweis zum Datenmodell
Um die getesteten Funktionen klar zuzuordnen, sollte ein Diagramm der Datenbankbeziehungen (ERD) erstellt werden.Beispielhafte Relationen:Ein solches Diagramm hilft, die Abhängigkeiten und Datenflüsse im Testprozess zu verstehen. https://blazordocs.me/samples/recursive https://blazordocs.me/samples/productexample https://blazordocs.me/samples/sample https://blazordocs.me/samples/time
User1:NUserLoginsUserN:MRolesüberUserRolesUser1:NRegistrations